

Where to find your integrations
In the left sidebar, select Settings, then Integrations. The page is headed Integration Instructions.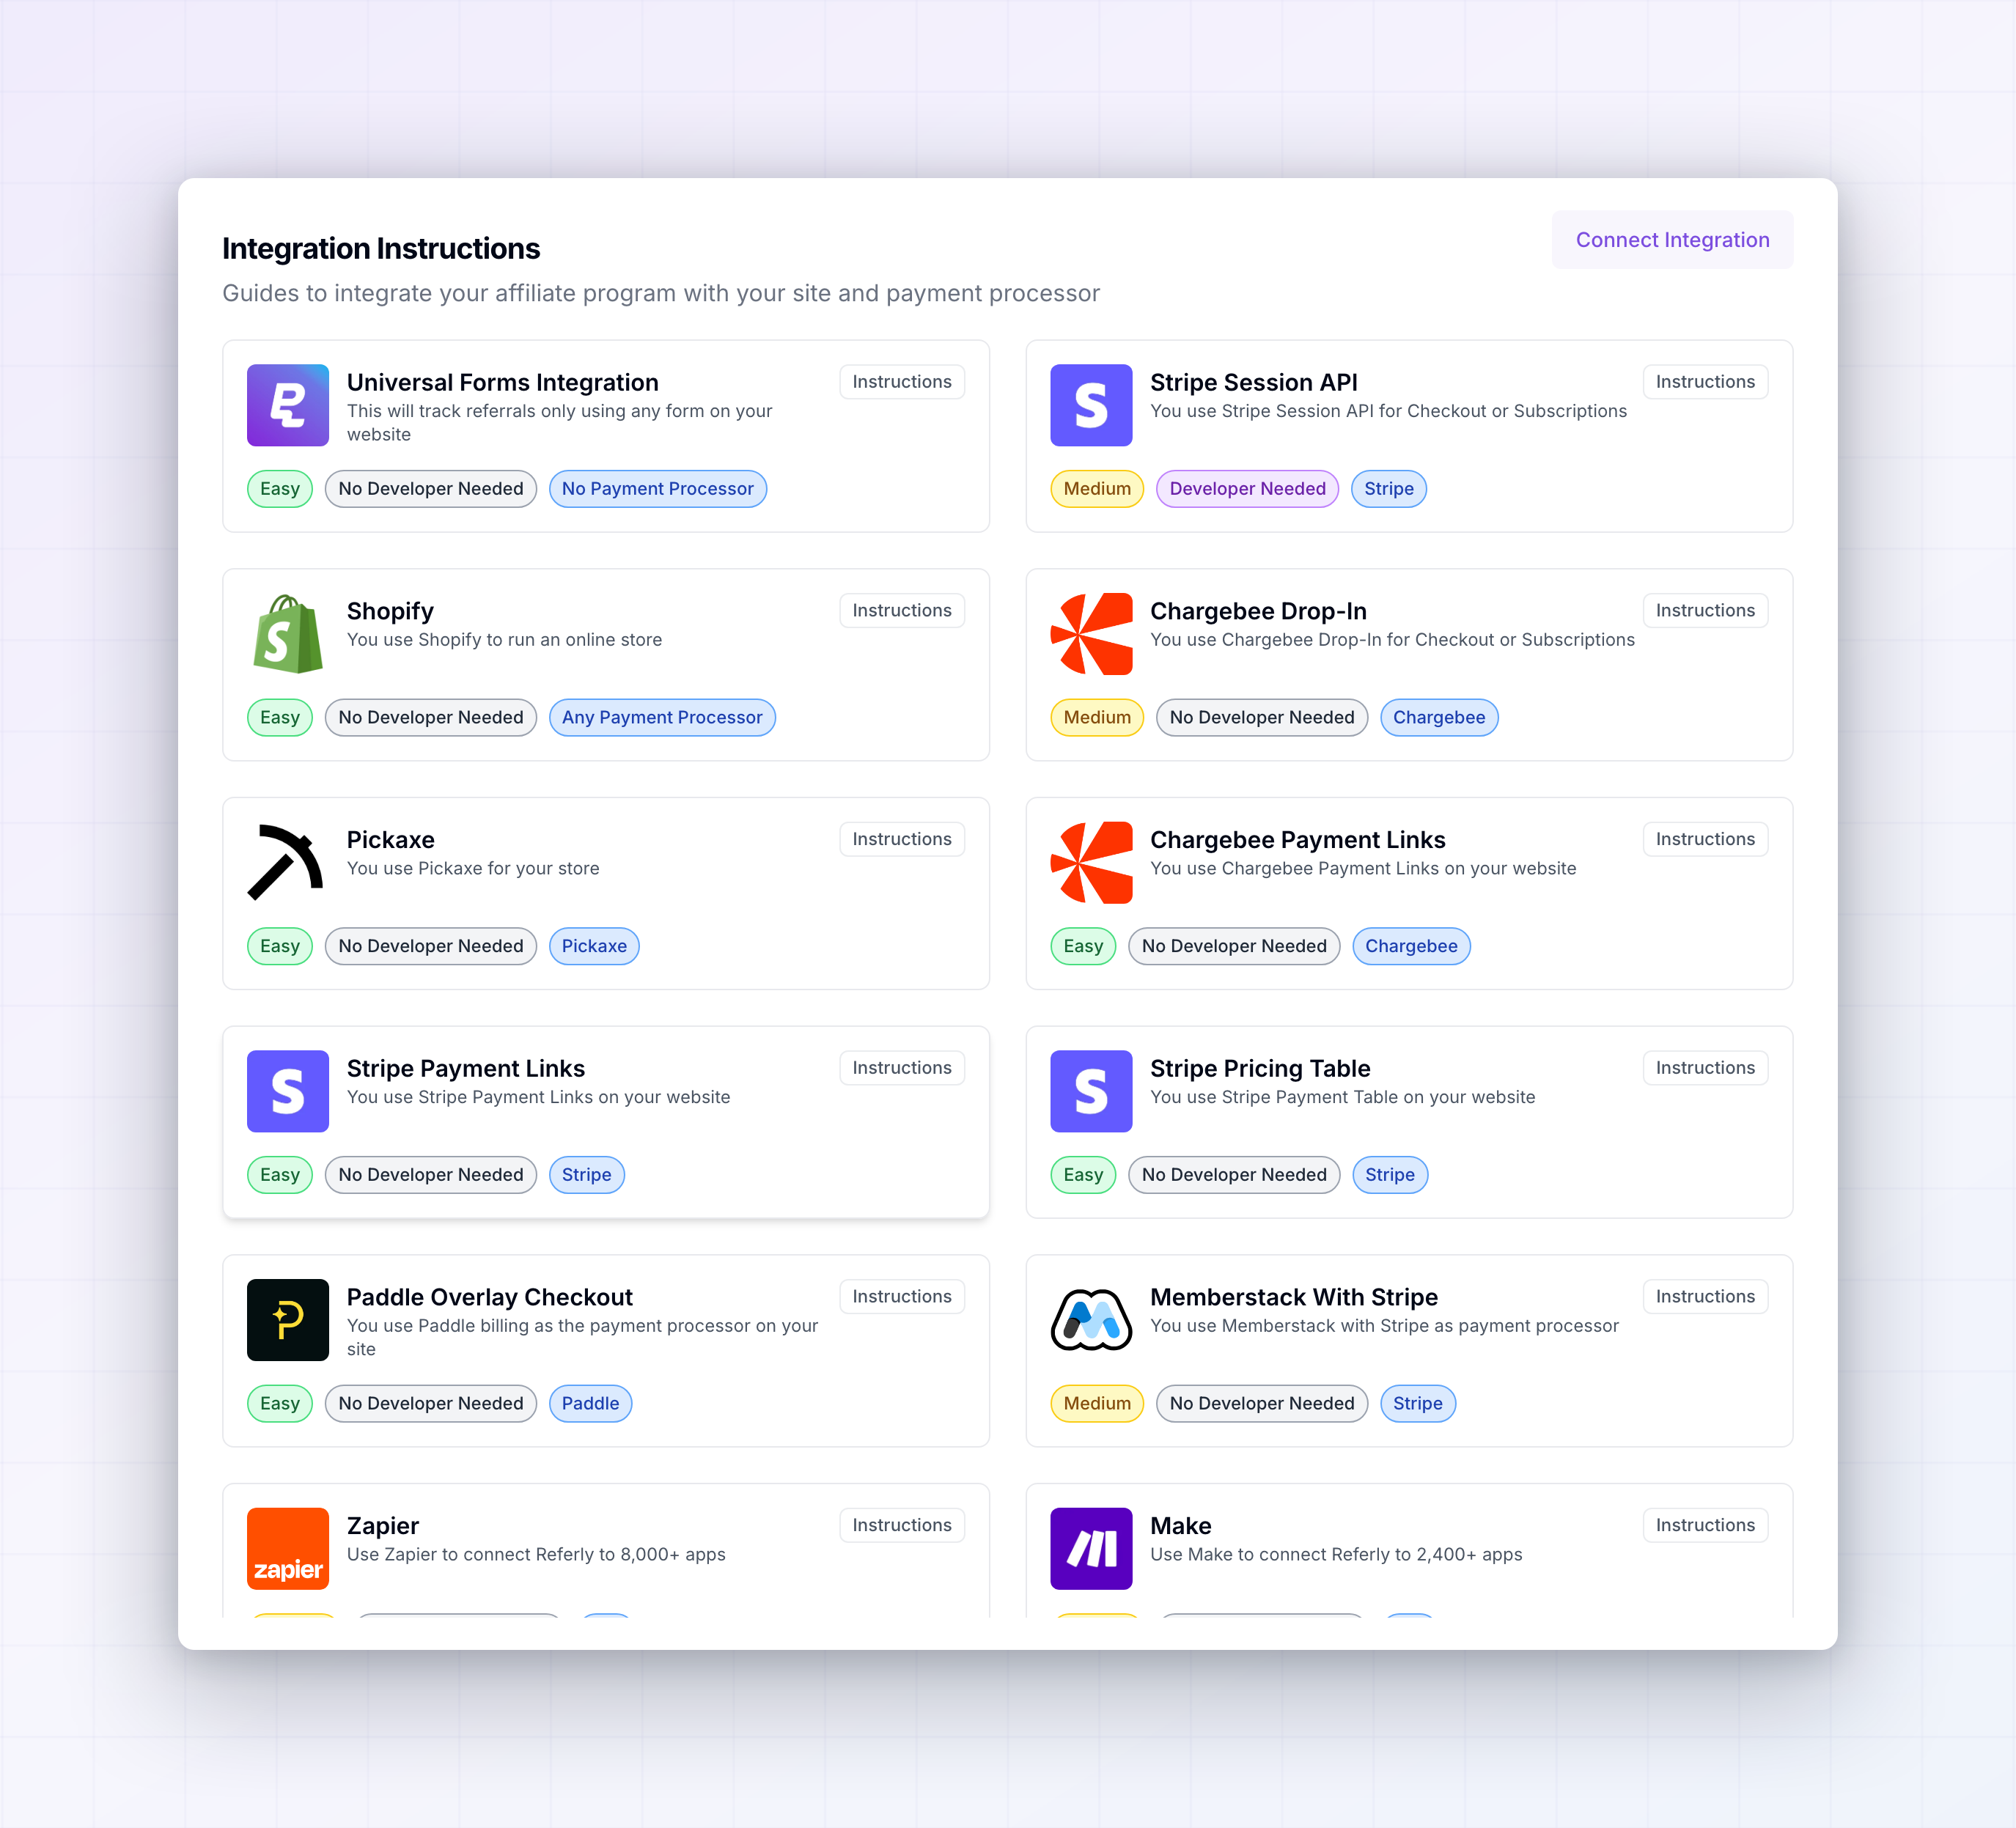 There are two things on it, and you’ll usually use both:
- The Connect Integration button, at the top right, links Referly to your payment provider.
- The grid of cards below is a library of setup guides, one for each platform and checkout style Referly supports.
The two pieces of an integration
Most setups need both halves, and they do different jobs:- A connection to your payment provider. This is what lets Referly read your sales and refunds, so it knows the real amount of every order and can work out the commission. For some providers it also lets Referly create the discount codes your affiliates hand out.
- Tracking on your site or checkout. This is what tells Referly which affiliate a given sale belongs to. Without it, Referly sees the sale but has no idea who sent the customer.
Connect your payment provider
Select Connect Integration at the top right to open the Choose Integration window, then pick your provider.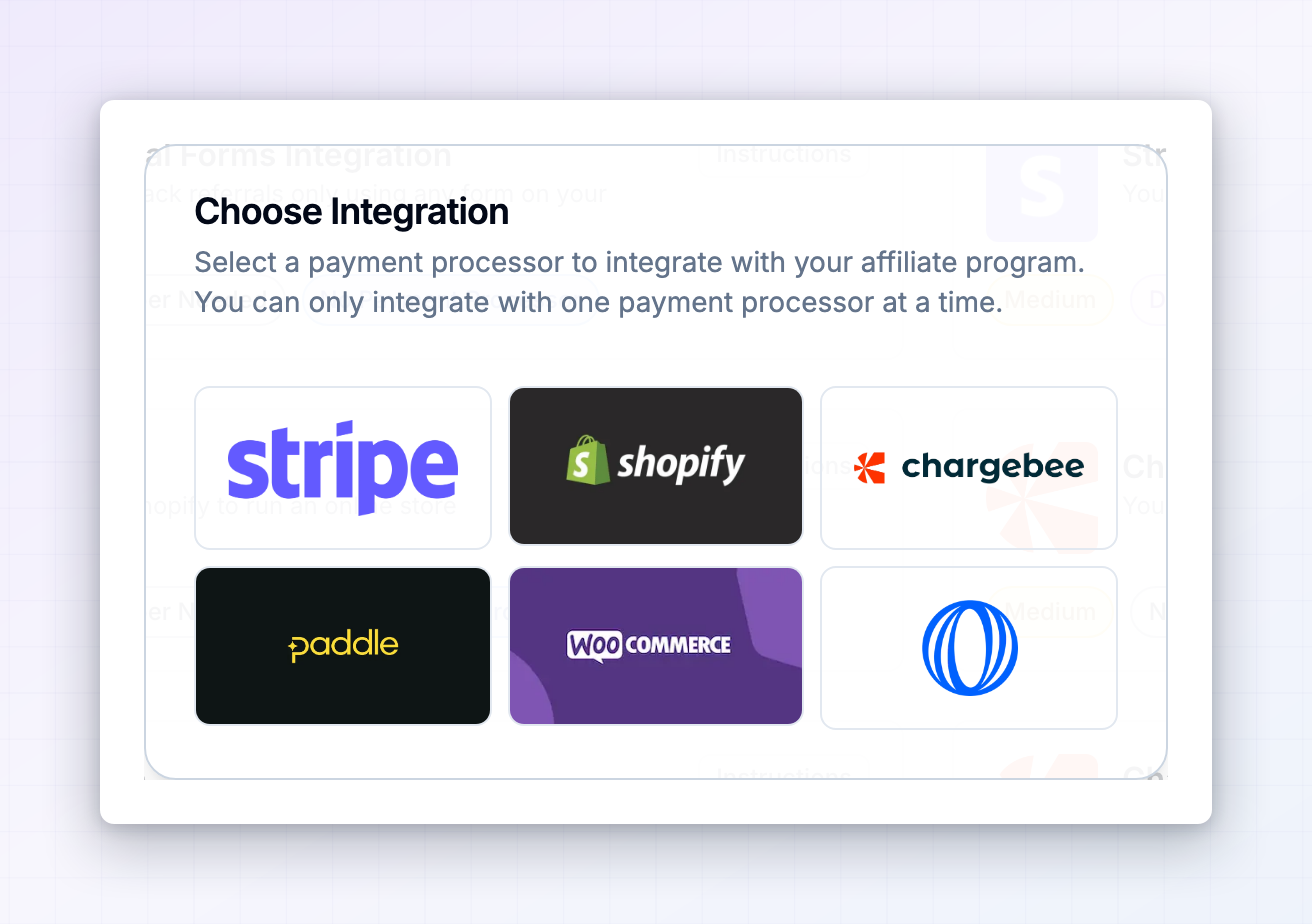 You can connect Stripe, Shopify, Chargebee, Paddle, WooCommerce, and Polar. A few integrations, like Zylvie, are private and only appear once they’ve been enabled for your account — contact support if you need one of those.
How you connect depends on the provider:
You can connect Stripe, Shopify, Chargebee, Paddle, WooCommerce, and Polar. A few integrations, like Zylvie, are private and only appear once they’ve been enabled for your account — contact support if you need one of those.
How you connect depends on the provider:
- Stripe and Shopify connect by signing in and approving Referly. There’s nothing to copy and paste. Stripe also offers a test mode connection if you want to try the flow before going live.
- Chargebee, Paddle, WooCommerce, and Polar ask for credentials from that tool, such as an API key or access token. Referly tells you exactly which fields it needs and which permissions to switch on before you generate the key, so open that panel first and follow it in order.
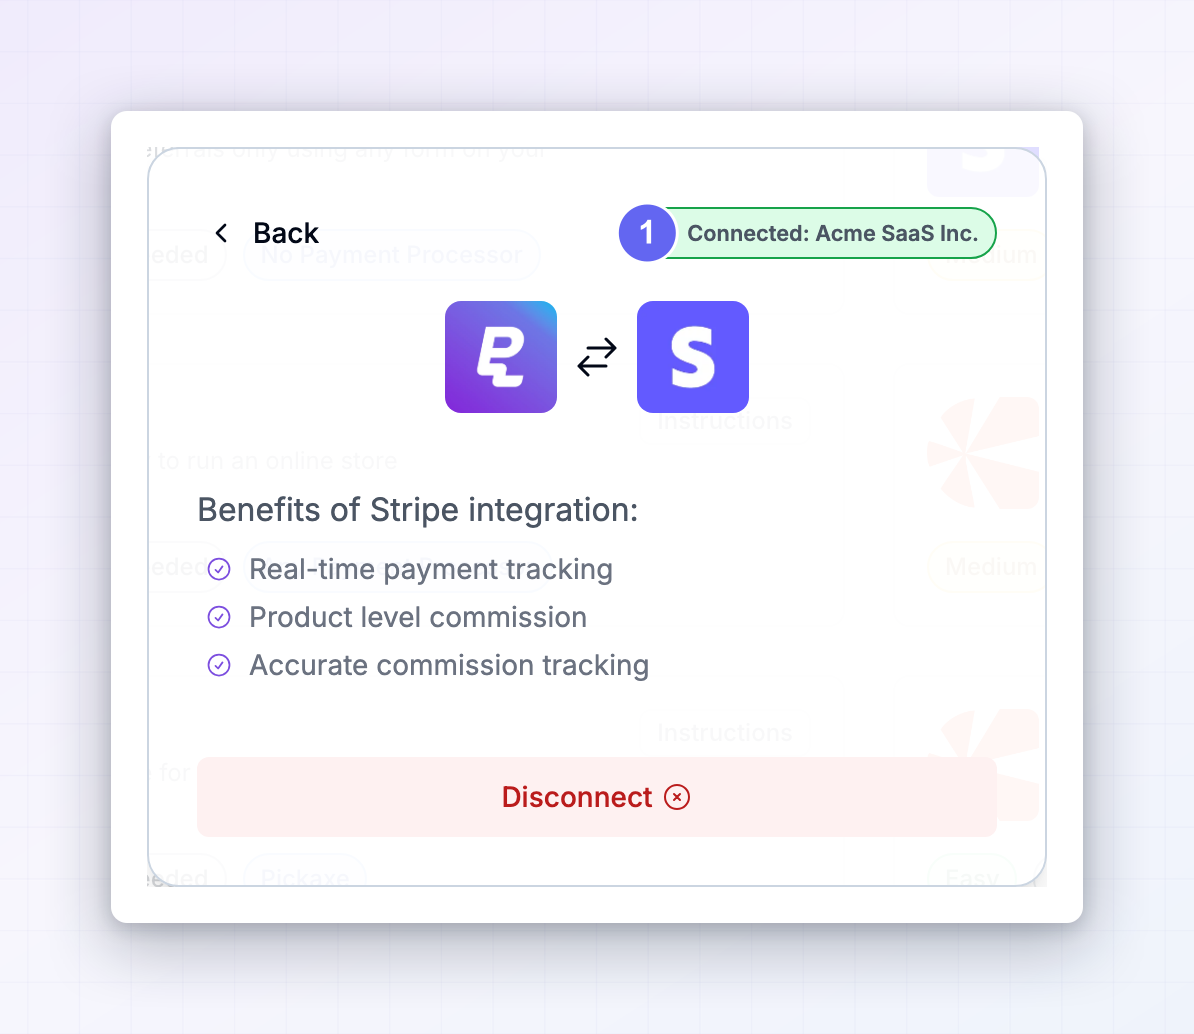 To unlink a provider, open the same panel and select Disconnect.
Choose the right setup guide
The cards on the Integrations page are step-by-step guides. Select Instructions on any card to open it — the steps come with your program’s own tracking code already filled in, so there’s nothing to assemble yourself.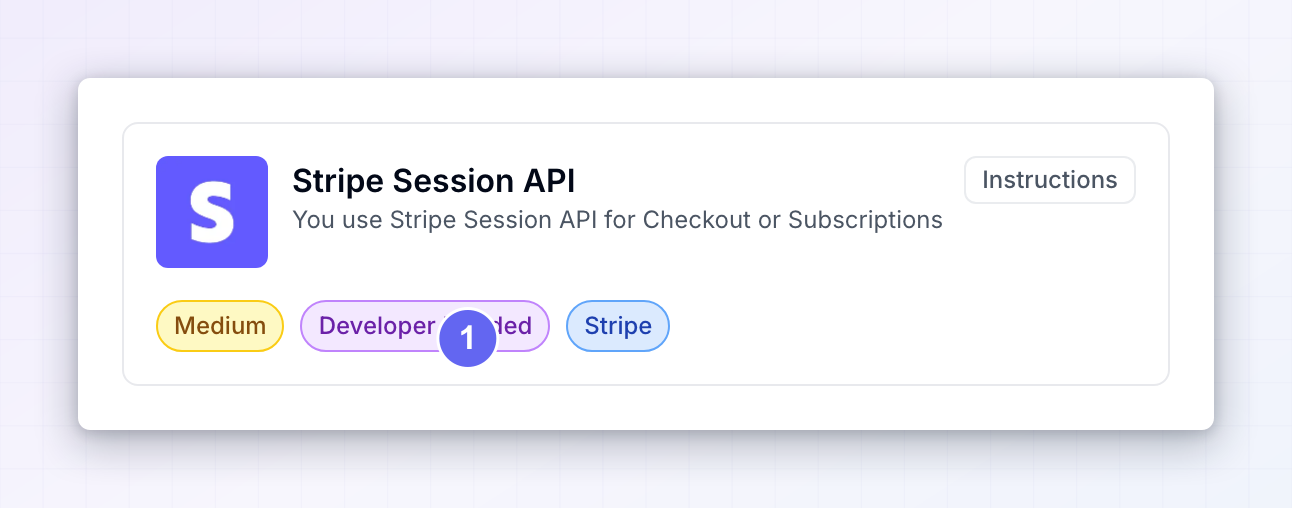 Each card tells you what you’re in for before you open it:
- The name and one-line description describe the exact situation the guide is for, usually phrased as “You use…”.
- A difficulty label: Easy, Medium, or Hard.
- No Developer Needed or Developer Needed, so you know whether this is something you can finish yourself.
- The payment processor the guide applies to.
- A Private label on restricted integrations.
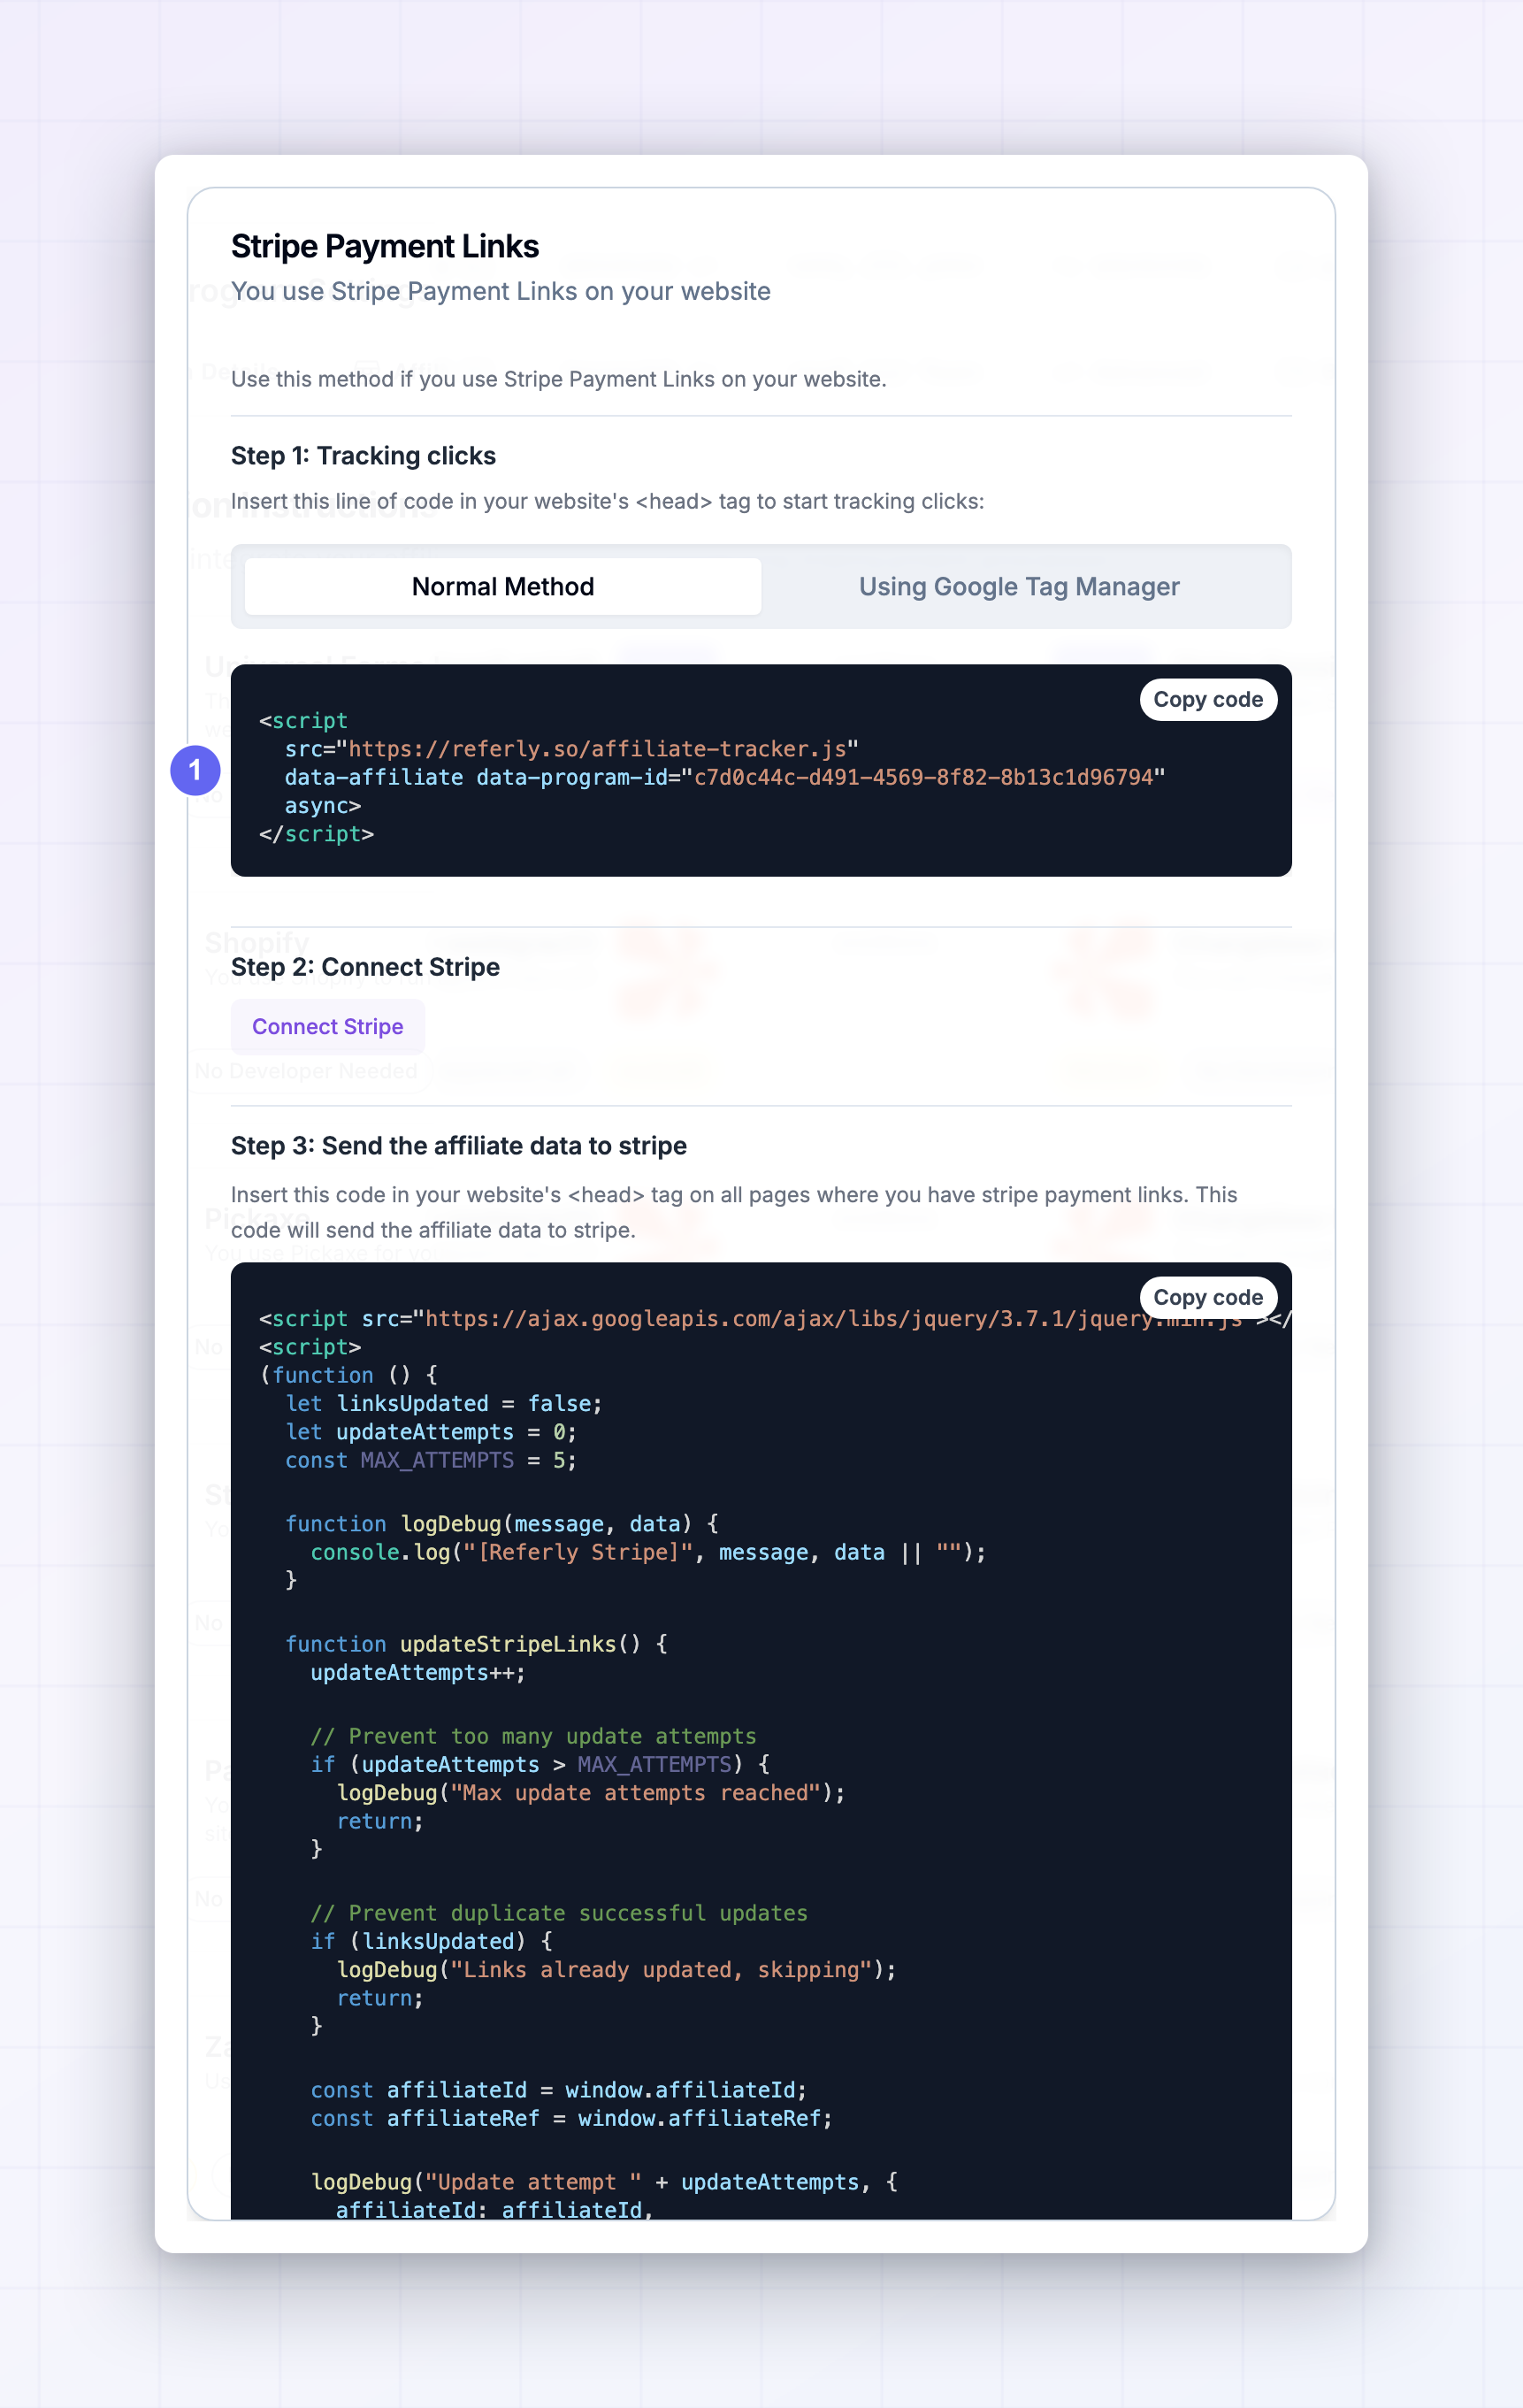 Pick the card that matches how you take payment, not only which company processes it. Stripe alone has five guides, because a Stripe Payment Link and a Stripe Pricing Table are set up in completely different ways. If you’re not sure, check your checkout page and see which one it resembles.
If an agency runs your program for you, you may see fewer cards than are listed here. Agencies can hide integrations they don’t support, so your list reflects what your agency has made available.
Payments and ecommerce
Stripe
Connect Stripe and pick the setup that matches your checkout.
Shopify
Track referred orders from your Shopify store.
WooCommerce
Track sales from a WooCommerce store on WordPress.
Paddle
Track referrals through Paddle overlay checkout.
Chargebee
Drop-in, payment links, or the Chargebee API.
Polar
Payment links, embedded checkout, or the Polar API.
Ecwid
Track sales on your Ecwid order confirmation page.
Zylvie
Track sales on your Zylvie order success page.
Stripe setups
Five different ways to sell with Stripe, each with its own guide. Open the one that matches your checkout.Session API
For Stripe Checkout or subscriptions created in code.
Payment Links
For Stripe payment links shared on your site.
Pricing Table
For an embedded Stripe pricing table.
Buy Button
For the Stripe buy button on your website.
Coupon Codes
Track affiliate sales through discount codes instead of links.
Other platforms
Memberstack
Memberstack sites that take payment with Stripe.
WordPress
Add Referly tracking to a WordPress site.
Calendly
Track referrals and paid bookings from Calendly.
Cal.com
Track referrals and sales from Cal.com bookings.
Pickaxe
Track sales from a Pickaxe store.
Skillplate
Track sales from Skillplate products.
If your platform isn’t on the list
You don’t need a named integration to run a program. Four options cover almost everything else:- Universal Forms Integration tracks referrals through any form on your website, with no payment processor involved. It’s the simplest option if you only need to know who referred a sign-up.
- Zapier connects Referly to more than 8,000 apps, and Make to more than 2,400, so you can pass sales in from a tool Referly doesn’t talk to directly.
- The Referly API gives a developer full control over how sales are reported. It’s the most flexible route and the most involved.
Universal integration
Track referrals through any form on your site.
Zapier
Connect Referly to 8,000+ apps without code.
Make
Build automated scenarios with 2,400+ apps.
Developer documentation
API, webhooks, and custom tracking for developers.
Integrations set up somewhere else
Two kinds of connection don’t live on the Integrations page, because they’re part of a different job:- Email marketing. Klaviyo, Mailchimp, MailerLite, and Brevo sync your affiliates into a mailing list so you can send them campaigns. Connect these under Settings, then Affiliate portal, then Email settings. See email marketing integrations.
- Payout methods. Wise, PayPal, and Referly Payouts are how you actually send affiliates their money. Set these up under Settings, then Program details, then Payout settings. See payout methods.
Related
Tracking methods
Choose how referrals are matched to affiliates.
Set up your program
The full first-time setup, start to finish.
Commission plans
Decide what each affiliate earns on a referred sale.
Payment provider webhooks
How Referly receives sale events from your provider.